ElevenLabsのSpeech to Textの精度がすごい
公式の紹介記事は こちら です。
特徴
Speech to Textとは音声を文字に変換する技術です。文字起こしができるAIモデルは他にも多くありますが、2025/11/11に発表されたScribe v2 Realtimeは 150ミリ秒未満の超低遅延 でリアルタイムに文字起こしができ、さらに日本語の単語誤り率(WER)が4.2%と、GPT-4o(5.3%)やGemini 2.5 Flash(7.1%)などの主要な競合モデルを上回る 高精度 を実現しています。[1]
詳細な特徴に関しては 公式の紹介記事 を参照して下さい。
試した結果
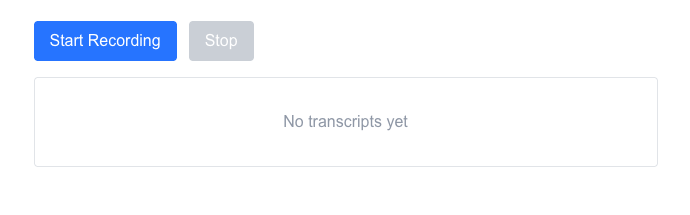
デモでリアルタイム文字起こしを試したときの画像です。

完璧に文字起こしできていると言っても良いのではないでしょうか?(録音している動画は こちら )
言語の切り替えも正確に検知し、言い直したワードも正確な部分のみを抽出して文字起こししてくれます。また、なんと言っても文字起こしされるまでの遅延の少なさは圧倒的です。
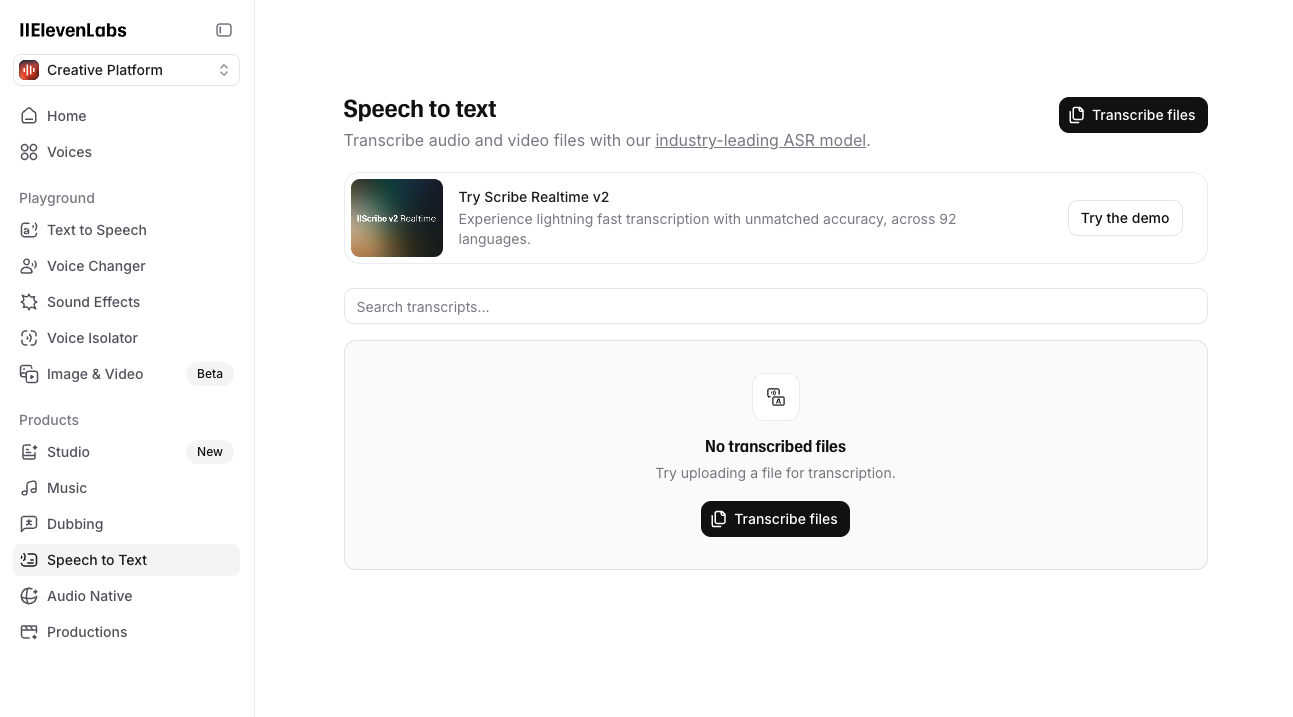
試してみたい方は https://elevenlabs.io/app/speech-to-text から↓↓
実装の仕方
ここでは実際のアプリケーションに組み込むために、簡単な実装方法を紹介します。
公式が公開している Quickstart をNext.js 16で試してみました。
① Next.jsプロジェクトのセットアップ
mkdir scribe-v2-realtime
cd scribe-v2-realtime
pnpm create next-app@latest . --yes
pnpm dev
これでローカルホストが起動します。
② APIキーの取得
こちら から取得したAPIキーを .env.local にセットします。
echo "ELEVENLABS_API_KEY=<your_api_key_here>" >> .env.local
③ SDKのインストール
pnpm install @elevenlabs/react
④ メイン画面の実装
公式の実装例ではUIが寂しかったのでUI部分だけ整えた実装を以下に置いておきます。
src/app/page.tsx
"use client";

import { useScribe } from "@elevenlabs/react";

export default function Home() {
  const scribe = useScribe({
    modelId: "scribe_v2_realtime",
    onPartialTranscript: (data) => {
      console.log("Partial:", data.text);
    },
    onCommittedTranscript: (data) => {
      console.log("Committed:", data.text);
    },
  });

  const handleStart = async () => {
    const tokenResponse = await fetch("/api/token");
    const { token } = await tokenResponse.json();
    await scribe.connect({
      token,
      microphone: {
        echoCancellation: true,
        noiseSuppression: true,
      },
      languageCode: "jpn"
    });
  };

  return (
    <div className="max-w-2xl mx-auto p-6 space-y-4">
      <div className="flex gap-3">
        <button
          onClick={handleStart}
          disabled={scribe.isConnected}
          className="px-4 py-2 bg-blue-500 text-white rounded hover:bg-blue-600 disabled:bg-gray-300 disabled:cursor-not-allowed"
        >
          Start Recording
        </button>
        <button
          onClick={scribe.disconnect}
          disabled={!scribe.isConnected}
          className="px-4 py-2 bg-red-500 text-white rounded hover:bg-red-600 disabled:bg-gray-300 disabled:cursor-not-allowed"
        >
          Stop
        </button>
      </div>

      {scribe.partialTranscript && (
        <div className="p-4 bg-yellow-50 border border-yellow-200 rounded">
          <p className="text-sm text-gray-600 mb-1">Live:</p>
          <p className="text-gray-800">{scribe.partialTranscript}</p>
        </div>
      )}

      <div className="space-y-2">
        {scribe.committedTranscripts.length === 0 && !scribe.partialTranscript ? (
          <div className="p-8 text-center text-gray-400 border border-gray-200 rounded">
            <p>No transcripts yet</p>
          </div>
        ) : (
          scribe.committedTranscripts.map((t) => (
            <p key={t.id} className="p-3 bg-gray-50 border border-gray-200 rounded">
              {t.text}
            </p>
          ))
        )}
      </div>
    </div>
  );
}
⑤ token 取得APIの実装
クライアントのSDKを使用するためには一時トークンが必要になります。取得したAPIキーを使用して一時トークンを取得します。
src/app/api/token/route.ts
import { NextResponse } from "next/server";

export async function GET() {
  const apiKey = process.env.ELEVENLABS_API_KEY!;

  try {
    const response = await fetch(
      "https://api.elevenlabs.io/v1/single-use-token/realtime_scribe",
      {
        method: "POST",
        headers: {
          "xi-api-key": apiKey,
          "Content-Type": "application/json"
        },
      }
    );

    if (!response.ok) {
      const errorText = await response.text();
      console.error("ElevenLabs API error:", errorText);
      throw new Error(`Failed to generate token: ${response.status}`);
    }

    const data = await response.json();
    return NextResponse.json({ token: data.token });
  } catch (error) {
    console.error("Token generation error:", error);
    return NextResponse.json(
      { error: "Failed to generate token" },
      { status: 500 }
    );
  }
}
⑥ 動作確認
実装は終わりです!「Start Recording」を押して動作を試してみて下さい。
おわりに
ElevenLabsのScribe v2 Realtimeは、超低遅延と高精度を両立した優れたSpeech to Textモデルで、リアルタイムでの文字起こしが必要なアプリケーションに最適です。
今回紹介した実装方法を参考に、ぜひ実際のプロジェクトに組み込んでみてください。会議の議事録作成、ライブ配信のキャプション生成、音声アシスタントなど、様々な用途で活用できると思います。
ElevenLabsのSpeech to Text機能は こちら から試すことができます。興味のある方はぜひ試してみてください!